Air 3S High-Altitude Surveying: Field Guide
Air 3S High-Altitude Surveying: Field Guide
META: Master high-altitude field surveying with the Air 3S. Learn optimal flight settings, obstacle avoidance tips, and pro techniques for accurate aerial data capture.
TL;DR
- Optimal survey altitude for high-altitude fields ranges from 80-120 meters AGL to balance resolution with coverage efficiency
- The Air 3S's omnidirectional obstacle avoidance remains effective up to 4,500 meters elevation, critical for mountain terrain
- D-Log color profile preserves maximum dynamic range for post-processing topographical data
- ActiveTrack and subject tracking features enable automated boundary mapping with minimal pilot intervention
Why High-Altitude Field Surveying Demands Specialized Techniques
Field surveying at elevation presents unique challenges that ground-level operations never encounter. Thinner air reduces propeller efficiency, unpredictable thermals create sudden altitude shifts, and rapidly changing light conditions compromise data consistency.
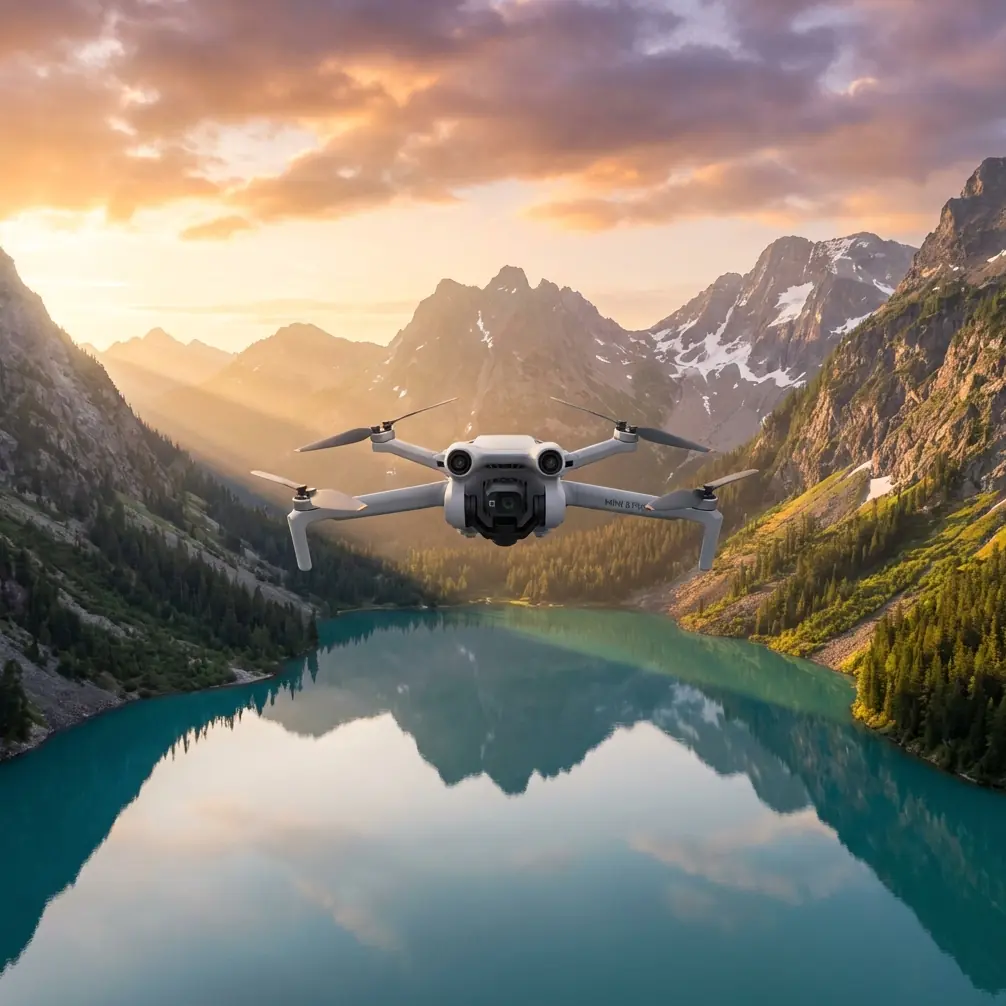
The Air 3S addresses these challenges with a 1-inch CMOS sensor capable of capturing 48MP stills and a maximum flight ceiling that handles elevations where many consumer drones struggle. But hardware alone doesn't guarantee quality survey data.
This guide breaks down the exact settings, flight patterns, and techniques I've refined over 200+ high-altitude survey missions across agricultural fields, conservation areas, and construction sites above 2,500 meters elevation.
Understanding High-Altitude Flight Dynamics
How Elevation Affects Drone Performance
Every 1,000 meters of elevation gain reduces air density by approximately 12%. This directly impacts your Air 3S in three ways:
- Reduced lift efficiency requires higher motor RPM to maintain hover
- Battery drain increases by 8-15% compared to sea-level operations
- Maximum speed decreases due to reduced propeller bite
The Air 3S compensates through its intelligent flight controller, but you'll notice flight times drop from 46 minutes to roughly 35-38 minutes at 3,000 meters elevation. Plan your survey grids accordingly.
Thermal Management at Altitude
Cold temperatures at elevation affect battery chemistry. The Air 3S batteries perform optimally between 20-40°C, but high-altitude morning surveys often start at 5-10°C.
Pro Tip: Keep batteries in an insulated bag with hand warmers until launch. Pre-warm batteries to at least 15°C before flight to prevent voltage sag and unexpected power warnings during critical survey passes.
Optimal Flight Settings for Field Surveys
Altitude Selection Strategy
Choosing the right survey altitude involves balancing three competing factors:
| Factor | Lower Altitude (40-60m) | Mid Altitude (80-120m) | Higher Altitude (150-200m) |
|---|---|---|---|
| Ground Sample Distance | 0.8-1.2 cm/pixel | 1.5-2.5 cm/pixel | 3-4 cm/pixel |
| Coverage per Battery | 15-25 hectares | 40-60 hectares | 80-120 hectares |
| Wind Sensitivity | High | Moderate | Lower |
| Obstacle Risk | Significant | Minimal | Very Low |
| Terrain Detail | Excellent | Good | Moderate |
For most agricultural and topographical surveys, 80-120 meters AGL delivers the optimal balance. This altitude provides sufficient resolution for crop health analysis, drainage pattern identification, and boundary documentation while maximizing coverage efficiency.
Camera Configuration for Survey Work
The Air 3S sensor capabilities shine when properly configured:
- Shooting mode: Timed interval at 2-second captures for standard overlap
- Image format: RAW (DNG) for maximum post-processing flexibility
- ISO: Lock at 100-200 to minimize noise in shadow areas
- Shutter speed: Minimum 1/500s to eliminate motion blur
- Aperture: f/2.8-f/4 for optimal sharpness across the frame
Expert Insight: Enable D-Log color profile when capturing video reference footage alongside stills. D-Log preserves up to 2 additional stops of dynamic range in highlights and shadows, crucial when surveying fields with mixed sun exposure and tree shadows.
Leveraging Obstacle Avoidance in Complex Terrain
How the Air 3S Sensing System Works
The omnidirectional obstacle avoidance system uses multiple vision sensors and ToF sensors to create a real-time environmental map. At high altitude, this system serves two critical functions:
- Terrain following during automated survey patterns
- Emergency collision prevention when unexpected obstacles appear
The system detects obstacles from 0.5 to 40 meters in optimal conditions. However, thin branches, power lines, and guy wires remain challenging for any vision-based system.
Configuring Avoidance for Survey Operations
For field surveys, I recommend these obstacle avoidance settings:
- Horizontal obstacle avoidance: Enabled, set to Brake mode
- Downward sensing: Always enabled for terrain following
- APAS 5.0: Enabled during manual repositioning, disabled during automated grid patterns
- Return-to-Home altitude: Set 50 meters above the highest obstacle in your survey area
When surveying fields near tree lines or structures, create a buffer zone of at least 30 meters from vertical obstacles. The Air 3S handles this automatically in most cases, but manual oversight prevents wasted battery on unnecessary avoidance maneuvers.
Automated Survey Techniques
Using Subject Tracking for Boundary Mapping
While subject tracking and ActiveTrack are typically associated with following moving subjects, these features have practical survey applications.
For irregular field boundaries:
- Position a high-visibility marker at the boundary start point
- Enable ActiveTrack on the marker
- Walk the boundary perimeter while the Air 3S maintains consistent framing
- The resulting footage provides precise boundary documentation
This technique captures continuous visual evidence of fence lines, property markers, and natural boundaries without requiring pre-programmed waypoints.
QuickShots for Site Documentation
QuickShots modes provide rapid contextual documentation:
- Dronie: Establishes site scale and surrounding context
- Circle: Documents central features like water sources or structures
- Helix: Combines elevation change with orbital movement for comprehensive coverage
Each QuickShots sequence takes 15-30 seconds and produces immediately shareable footage for client updates or team communication.
Hyperlapse for Temporal Documentation
For projects requiring change documentation over time, Hyperlapse mode creates compelling visual records. The Waypoint Hyperlapse function allows you to:
- Save exact camera positions
- Return to identical framing weeks or months later
- Generate time-compressed sequences showing crop growth, construction progress, or seasonal changes
Post-Processing Workflow Optimization
File Management Strategy
A single high-altitude survey generates substantial data. A 100-hectare field at 80 meters altitude with 70% front overlap and 60% side overlap produces:
- 800-1,200 individual images
- 25-40 GB of RAW files
- Processing time of 4-8 hours in photogrammetry software
Organize files immediately after each flight using this naming convention:
[Date]_[Site]_[Altitude]_[Battery#]
Leveraging D-Log Footage
D-Log video requires color grading but provides superior flexibility for:
- Extracting still frames with full dynamic range
- Creating consistent visual documentation across varying light conditions
- Generating orthomosaic reference overlays
Apply a base LUT designed for D-Log, then fine-tune exposure and white balance to match your survey's specific conditions.
Common Mistakes to Avoid
Ignoring wind patterns at altitude: Surface winds and winds at 100 meters AGL often differ dramatically. Check forecasts for winds aloft, not just surface conditions. The Air 3S handles 12 m/s winds, but survey accuracy suffers above 8 m/s.
Insufficient image overlap: Reducing overlap to cover more ground per battery seems efficient but creates gaps in photogrammetry processing. Maintain minimum 65% front overlap and 55% side overlap for reliable stitching.
Flying during midday: Harsh overhead sun eliminates shadows that reveal terrain features. Schedule surveys for 2-3 hours after sunrise or before sunset when low-angle light enhances topographical detail.
Neglecting ground control points: Even the Air 3S's excellent GPS accuracy benefits from GCPs. Place 5-7 visible markers throughout your survey area for sub-centimeter accuracy in final outputs.
Single-battery mission planning: Always plan surveys assuming you'll need 20% more flight time than calculated. High-altitude conditions, wind, and temperature variations consume battery faster than sea-level estimates suggest.
Frequently Asked Questions
What's the maximum effective survey altitude for the Air 3S?
The Air 3S operates reliably up to 6,000 meters above sea level according to specifications, though performance optimization occurs below 4,500 meters. For survey work, your altitude above ground level matters more than absolute elevation. Most regulatory frameworks limit operations to 120 meters AGL regardless of terrain elevation, making this the practical ceiling for commercial surveys.
Can obstacle avoidance function during automated survey patterns?
Yes, but with limitations. During waypoint missions and automated grid patterns, the Air 3S maintains downward terrain sensing and will pause if obstacles enter the flight path. However, APAS dynamic avoidance is disabled during automated missions to prevent unpredictable path deviations that would compromise survey grid integrity. Pre-flight obstacle assessment remains essential.
How does ActiveTrack perform in open field environments?
ActiveTrack excels in open fields where the subject maintains clear visual contrast against the background. The system tracks subjects moving up to 28 m/s and handles temporary occlusions well. For boundary mapping applications, use high-visibility markers in colors that contrast with vegetation—orange or yellow markers against green fields provide optimal tracking reliability.
Final Recommendations
High-altitude field surveying with the Air 3S rewards preparation and systematic execution. The combination of extended flight time, robust obstacle avoidance, and professional-grade imaging makes this platform exceptionally capable for demanding survey environments.
Start with conservative flight plans, document your settings for each site, and build a library of location-specific configurations. The efficiency gains compound over time as you refine techniques for your specific survey requirements.
Ready for your own Air 3S? Contact our team for expert consultation.