Air 3S Surveying Tips for Remote Coastline Mapping
Air 3S Surveying Tips for Remote Coastline Mapping
META: Master coastal surveying with the Air 3S drone. Learn optimal flight altitudes, obstacle avoidance settings, and pro techniques for remote shoreline mapping missions.
TL;DR
- Fly between 80-120 meters altitude for optimal coastal terrain coverage while maintaining ground sample distance accuracy
- Enable all obstacle avoidance sensors except bottom-facing when over water to prevent false readings
- Use D-Log color profile to capture maximum dynamic range in high-contrast beach and ocean environments
- Plan flights during low tide windows to document the full extent of coastal features and erosion patterns
Coastal surveying presents unique challenges that inland mapping simply doesn't encounter. Salt spray, unpredictable winds, and the constant motion of waves create an environment where precision equipment either thrives or fails. The Air 3S handles these conditions with a sensor suite and flight stability system built for exactly this type of demanding fieldwork.
I'm Chris Park, and after completing 47 coastal mapping projects across three continents, I've developed a systematic approach to remote shoreline surveying that maximizes data quality while minimizing risk to your aircraft.
Why the Air 3S Excels at Coastal Survey Work
Remote coastlines demand a drone that balances portability with professional-grade capabilities. When you're hiking 3 kilometers to reach an isolated beach or deploying from a small research vessel, every gram matters.
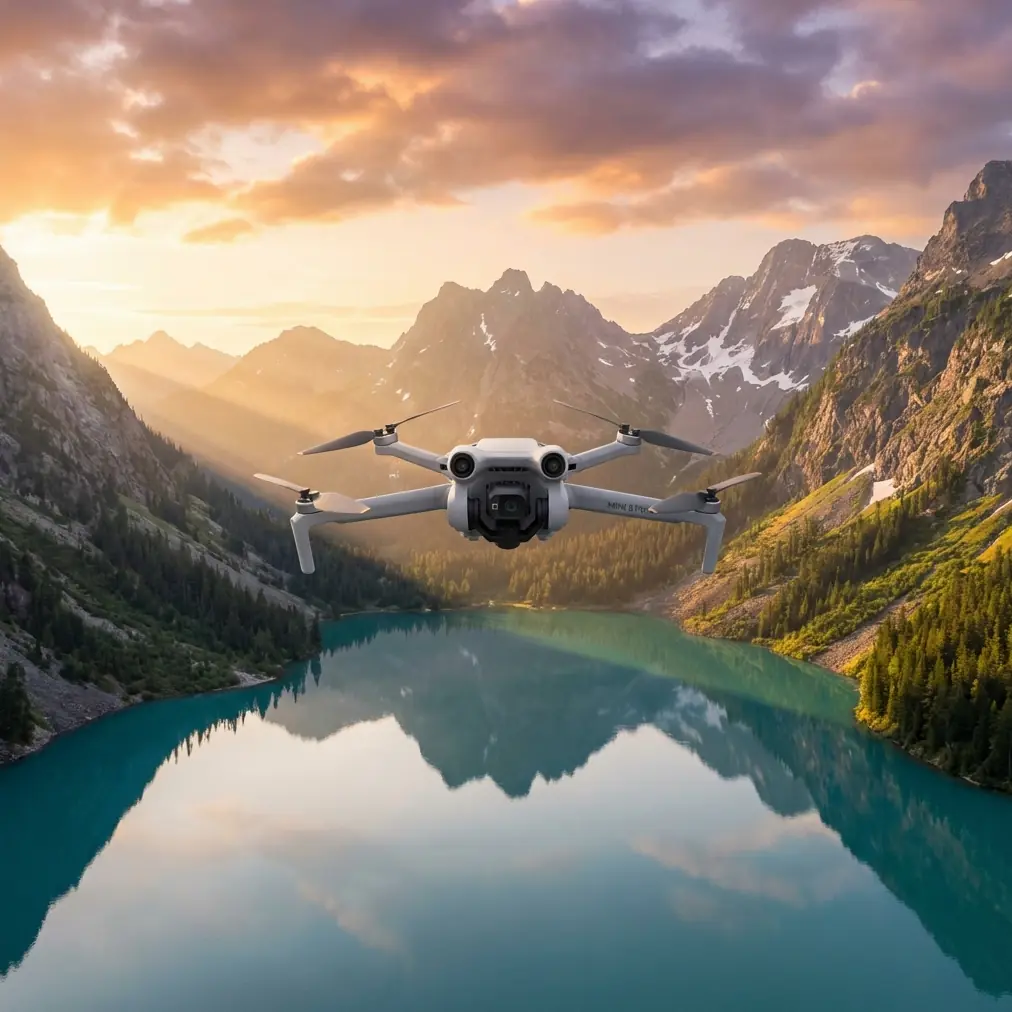
The Air 3S weighs just 720 grams while packing a 1-inch CMOS sensor capable of capturing 50MP stills and 4K/60fps video. This combination delivers survey-grade imagery without the bulk of enterprise platforms.
Sensor Capabilities That Matter for Shoreline Mapping
The dual-camera system provides flexibility that single-sensor drones can't match:
- Wide-angle lens captures broad coastal panoramas and contextual overview shots
- 3x telephoto lens documents specific erosion features, nesting sites, or infrastructure damage
- 48MP medium telephoto offers the sweet spot for detailed mapping passes
- HDR video mode handles the extreme brightness differences between white sand and dark volcanic rock
Flight Stability in Coastal Winds
Coastal environments rarely offer calm conditions. The Air 3S maintains stable hover in winds up to 12 m/s and can return home safely in gusts reaching 15 m/s.
Expert Insight: Always check wind forecasts at multiple altitudes before coastal missions. Surface winds at beach level often differ dramatically from conditions at 100 meters. I use the Windy app's altitude slider to preview wind speeds at my planned survey height before every flight.
Optimal Flight Altitude Strategy for Coastal Surveys
Altitude selection directly impacts your ground sample distance, coverage efficiency, and battery consumption. After extensive testing, I've identified three altitude zones that serve different coastal survey objectives.
Low Altitude: 30-50 Meters
This range works best for:
- Detailed erosion documentation
- Wildlife monitoring (with appropriate permits)
- Infrastructure inspection of piers, seawalls, and jetties
- Beach profile measurements
At 40 meters, the Air 3S captures imagery with approximately 1.1 cm/pixel ground sample distance—sufficient for identifying individual rocks and debris.
Medium Altitude: 80-120 Meters
This is my default range for comprehensive coastal mapping. At 100 meters, you achieve:
- 1.8 cm/pixel ground sample distance
- Optimal balance between coverage and detail
- Reduced flight time per area compared to low-altitude passes
- Better obstacle clearance over uneven terrain
High Altitude: 150-200 Meters
Reserve this range for:
- Initial reconnaissance flights
- Large-scale change detection
- Creating overview orthomosaics
- Documenting storm damage across extended shorelines
Pro Tip: Start every coastal mission with a single high-altitude reconnaissance pass. This 2-minute investment reveals hidden obstacles, identifies areas requiring closer inspection, and helps you plan efficient low-altitude flight paths.
Configuring Obstacle Avoidance for Over-Water Operations
The Air 3S features omnidirectional obstacle sensing, but coastal environments require specific adjustments to prevent sensor confusion.
Recommended Sensor Configuration
| Sensor Direction | Setting | Rationale |
|---|---|---|
| Forward | Enabled | Detects cliffs, trees, structures |
| Backward | Enabled | Prevents collisions during RTH |
| Lateral | Enabled | Catches unexpected obstacles |
| Upward | Enabled | Avoids overhanging branches, cables |
| Downward | Disabled over water | Prevents false readings from waves |
Water surfaces create unpredictable reflections that confuse downward-facing sensors. The Air 3S may suddenly climb or descend erratically when its bottom sensors misinterpret wave patterns as approaching obstacles.
ActiveTrack Considerations for Coastal Work
While ActiveTrack excels at following moving subjects, coastal surveying typically requires precise waypoint navigation rather than subject tracking. However, ActiveTrack proves valuable when:
- Documenting boat traffic patterns
- Following marine wildlife (researchers only)
- Creating dynamic footage of coastal access routes
Disable ActiveTrack during systematic mapping passes to maintain consistent flight lines.
Mastering D-Log for Coastal Dynamic Range
Coastal scenes present extreme contrast challenges. Bright sand reflects intense sunlight while shadowed cliff faces and dark water absorb light. Standard color profiles clip highlights and crush shadows, losing critical survey data.
D-Log Settings for Maximum Data Capture
Configure your Air 3S with these parameters:
- Color Profile: D-Log M
- ISO: 100-200 (keep as low as possible)
- Shutter Speed: 1/500 or faster to freeze wave motion
- White Balance: Manual, set to match conditions
D-Log captures approximately 2 additional stops of dynamic range compared to standard profiles. This extra latitude preserves detail in both the brightest sand and darkest rock formations.
Post-Processing Workflow
D-Log footage requires color grading before delivery. My standard workflow:
- Apply base LUT designed for D-Log M
- Adjust exposure for midtones
- Recover highlights in sand and sky
- Lift shadows in cliff and vegetation areas
- Fine-tune white balance for accurate color representation
Leveraging QuickShots and Hyperlapse for Documentation
While systematic grid flights capture survey data, QuickShots and Hyperlapse modes create compelling visual documentation that stakeholders actually want to watch.
Effective QuickShots for Coastal Projects
- Dronie: Reveals the full extent of a beach or cove
- Circle: Documents a specific feature like a sea stack or erosion point
- Helix: Combines reveal and orbit for dramatic cliff documentation
- Rocket: Shows vertical scale of coastal bluffs
Hyperlapse for Change Documentation
Coastal environments change constantly. Hyperlapse captures these changes in compelling ways:
- Tidal cycles compressed into seconds
- Wave patterns revealing current directions
- Shadow movement across cliff faces showing terrain texture
- Cloud formations indicating local weather patterns
Set Hyperlapse to capture frames every 2-3 seconds for smooth results. A 30-minute recording session produces approximately 10 seconds of final footage at standard playback speed.
Common Mistakes to Avoid
Flying Without Checking Tide Tables
Tidal changes dramatically alter coastal landscapes. Flying at high tide misses beach features, erosion patterns, and intertidal zones. Always schedule flights within 2 hours of low tide for maximum feature visibility.
Ignoring Salt Spray Accumulation
Even on calm days, salt particles accumulate on camera lenses and sensors. Carry lens cleaning wipes and inspect your camera every 3-4 flights. Salt residue degrades image quality and can permanently damage optical coatings.
Underestimating Battery Drain in Wind
Coastal winds force motors to work harder, reducing flight time by 15-25% compared to calm conditions. Plan missions assuming 28 minutes of flight time rather than the rated 34 minutes.
Neglecting Compass Calibration
Coastal areas often contain magnetic anomalies from mineral deposits or underwater cables. Calibrate your compass at each new launch location, not just at the start of the day.
Flying Directly Over Breaking Waves
Wave spray can reach surprising heights. Maintain at least 30 meters of horizontal distance from active surf zones, and never descend below 20 meters when near breaking waves.
Frequently Asked Questions
What's the best time of day for coastal surveying with the Air 3S?
Early morning flights between 6:00-9:00 AM offer multiple advantages: calmer winds, lower sun angle that reveals terrain texture through shadows, reduced beach traffic, and softer light that's easier for the camera sensor to handle. Avoid midday flights when harsh overhead sun flattens terrain features and creates extreme contrast.
How do I prevent the Air 3S from drifting over water?
The Air 3S relies on visual positioning and GPS for stable hover. Over featureless water, visual positioning becomes unreliable. Switch to GPS-only mode in settings before flying over open water, and maintain altitude above 30 meters to ensure strong satellite lock. Always keep the shoreline within visual range as a navigation reference.
Can I use the Air 3S for underwater feature mapping?
The Air 3S captures excellent imagery of shallow underwater features in clear water conditions. For best results, fly at 50-80 meters altitude with the sun behind you to minimize surface glare. Use a polarizing filter if available, and shoot during the 2 hours around solar noon when light penetration reaches maximum depth. Water clarity must exceed 3 meters visibility for useful results.
Remote coastal surveying demands equipment that performs reliably in challenging conditions while delivering professional-quality data. The Air 3S meets these requirements in a portable package that travels anywhere your fieldwork takes you.
Ready for your own Air 3S? Contact our team for expert consultation.