Air 3S Mapping Tips for Complex Venue Terrain
Air 3S Mapping Tips for Complex Venue Terrain
META: Master venue mapping in challenging terrain with Air 3S. Learn optimal altitudes, obstacle avoidance settings, and pro techniques for stunning results.
TL;DR
- Optimal mapping altitude for complex venues sits between 40-60 meters—balancing detail capture with obstacle clearance
- ActiveTrack 360° and omnidirectional obstacle avoidance make the Air 3S ideal for navigating tight spaces around buildings and structures
- D-Log color profile preserves maximum dynamic range for post-processing venue maps with accurate color representation
- QuickShots and Hyperlapse modes create compelling supplementary content alongside technical mapping data
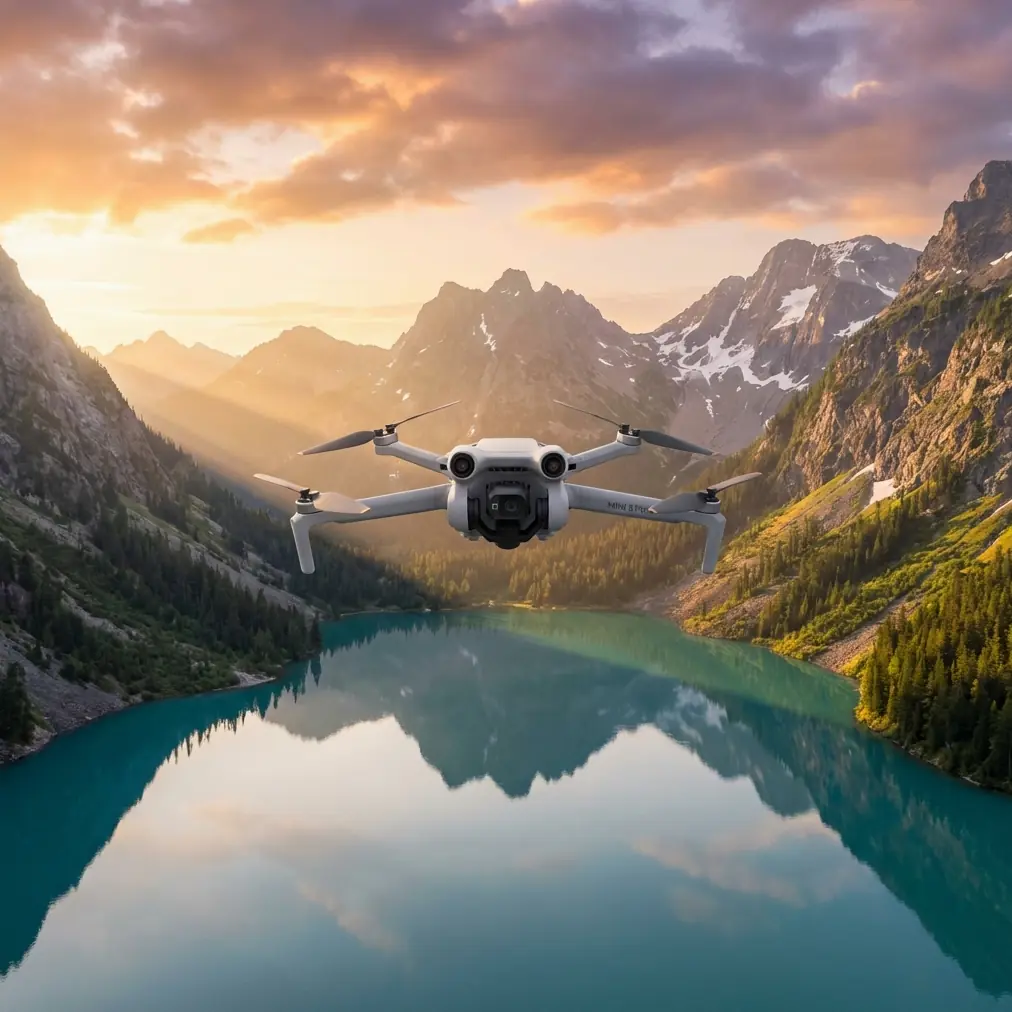
Complex venue mapping presents unique challenges that separate amateur drone operators from professionals. The DJI Air 3S addresses these challenges head-on with its dual-camera system, advanced sensing capabilities, and intelligent flight modes designed specifically for intricate environments.
This guide breaks down exactly how to configure your Air 3S for venue mapping success, covering altitude optimization, obstacle avoidance settings, and workflow techniques I've refined across hundreds of commercial mapping projects.
Understanding Complex Terrain Mapping Requirements
Venue mapping differs fundamentally from open-field aerial photography. You're dealing with vertical structures, varying elevations, reflective surfaces, and often restricted airspace boundaries that demand precision flying.
The Air 3S excels here because of its 1-inch CMOS sensor paired with a 70mm telephoto lens. This combination lets you maintain safe distances from structures while still capturing the detail needed for accurate mapping outputs.
What Makes Venue Terrain "Complex"
Complex terrain typically includes:
- Multi-level buildings with rooftop equipment
- Parking structures and covered areas
- Landscaping features like mature trees
- Water features creating reflective interference
- Adjacent structures limiting flight paths
- Underground elements requiring surface-level detail capture
Each element requires specific approach strategies that the Air 3S handles through its intelligent flight systems.
Optimal Flight Altitude: The 40-60 Meter Sweet Spot
Here's the insight that transformed my venue mapping results: maintaining altitude between 40-60 meters provides the ideal balance between ground sample distance (GSD) and obstacle clearance.
Below 40 meters, you're constantly triggering obstacle avoidance systems and missing the broader context needed for comprehensive venue maps. Above 60 meters, you sacrifice the detail resolution that makes venue maps actually useful for clients.
Altitude Selection by Venue Type
| Venue Type | Recommended Altitude | GSD Achievement | Key Consideration |
|---|---|---|---|
| Sports Stadiums | 55-60m | 1.5cm/pixel | Seating detail vs. field coverage |
| Corporate Campuses | 45-50m | 1.2cm/pixel | Building separation clarity |
| Event Spaces | 40-45m | 1.0cm/pixel | Tent/temporary structure capture |
| Historic Properties | 50-55m | 1.3cm/pixel | Architectural detail preservation |
| Golf Courses | 55-60m | 1.5cm/pixel | Terrain undulation accuracy |
Expert Insight: When mapping venues with significant elevation changes—like amphitheaters or terraced gardens—use the Air 3S terrain follow mode but set your altitude reference to the highest point. This prevents the drone from descending into obstacle-rich zones when following ground contours.
Configuring Obstacle Avoidance for Mapping Missions
The Air 3S features omnidirectional obstacle sensing with a detection range of up to 32 meters in optimal conditions. For venue mapping, you'll want to customize these settings rather than relying on defaults.
Recommended Obstacle Avoidance Configuration
Step 1: Access Safety Settings Navigate to Safety → Obstacle Avoidance in your DJI Fly app. You'll find three primary modes: Bypass, Brake, and Off.
Step 2: Select Bypass Mode For mapping missions, Bypass mode allows the Air 3S to automatically navigate around detected obstacles while maintaining your programmed flight path. This keeps your mapping grid intact while preventing collisions.
Step 3: Adjust Detection Sensitivity Set horizontal obstacle detection to High sensitivity. This triggers earlier avoidance maneuvers, giving you smoother flight paths that produce better mapping imagery.
Step 4: Configure Minimum Safe Distance Increase the minimum obstacle distance to 8-10 meters for venue work. Standard settings of 3-5 meters work for open flying but create jerky corrections when navigating complex structures.
When to Modify These Settings
Certain venue conditions require adjustments:
- Glass buildings: Reduce reliance on forward sensors; glass creates unreliable readings
- Wire obstacles: Enable APAS 5.0 but fly more conservatively; thin wires challenge detection systems
- Water features: Downward sensors may give false readings over reflective surfaces
Pro Tip: Before starting any mapping mission, fly a manual reconnaissance lap around the venue perimeter at your planned altitude. This identifies obstacle challenges the automated systems might struggle with and lets you adjust your flight plan accordingly.
Leveraging Subject Tracking for Dynamic Venue Elements
While mapping typically involves systematic grid patterns, the Air 3S subject tracking capabilities prove valuable for capturing dynamic venue elements—vehicle flow patterns, pedestrian pathways, and operational sequences.
ActiveTrack Configuration for Venue Documentation
ActiveTrack on the Air 3S uses the telephoto lens for enhanced tracking precision. Configure it for venue work by:
- Setting tracking speed to Slow or Medium—fast tracking creates motion blur that degrades mapping utility
- Enabling Spotlight mode for subjects you want to follow without the drone physically moving
- Using Trace mode when documenting pathways or circulation routes
This supplementary footage adds context to static mapping data, showing clients how their venues actually function.
QuickShots and Hyperlapse: Beyond Basic Mapping
Pure orthomosaic mapping serves technical purposes, but clients increasingly want deliverables that communicate venue character. The Air 3S QuickShots and Hyperlapse modes create this supplementary content efficiently.
QuickShots for Venue Showcase
The most effective QuickShots for venue mapping projects:
- Dronie: Reveals venue in context of surrounding area
- Circle: Showcases central features like fountains, monuments, or main buildings
- Helix: Combines vertical and rotational movement for dramatic reveals
- Rocket: Emphasizes venue scale and layout
Each QuickShot takes under 60 seconds to execute, adding minimal time to mapping missions while dramatically expanding deliverable options.
Hyperlapse for Operational Documentation
Hyperlapse mode captures time-compressed footage showing venue operations. For mapping projects, I use:
- Free mode: Manual path control for custom venue tours
- Circle mode: Extended observation of high-activity zones
- Course Lock mode: Straight-line passes showing venue length or depth
Set Hyperlapse intervals to 2-3 seconds for smooth results that compress 30-minute observation periods into compelling 60-second clips.
D-Log Configuration for Maximum Mapping Flexibility
Color accuracy matters enormously in venue mapping. The Air 3S D-Log profile captures the widest dynamic range, preserving detail in shadows and highlights that standard color profiles clip.
D-Log Settings for Venue Work
Configure your Air 3S camera settings as follows:
- Color Mode: D-Log M
- ISO: 100-400 (avoid higher values for mapping)
- Shutter Speed: 1/focal length × 2 minimum (1/160s for wide, 1/250s for telephoto)
- White Balance: Manual, set to conditions (typically 5500-6500K daylight)
Post-Processing D-Log Footage
D-Log footage appears flat and desaturated straight from camera. Apply these corrections:
- Base contrast curve adjustment (+15-20 points)
- Saturation boost (+10-15%)
- Highlight recovery (-10-15 points)
- Shadow lift (+5-10 points)
This workflow produces mapping imagery with accurate colors that match real-world venue appearances.
Common Mistakes to Avoid
Flying Too Fast for Sensor Overlap Mapping requires 70-80% image overlap for accurate stitching. The Air 3S can fly at 19m/s, but mapping missions should stay under 5m/s to ensure proper overlap at standard capture intervals.
Ignoring Wind Conditions Wind affects image sharpness more than most operators realize. The Air 3S handles winds up to 12m/s, but mapping quality degrades significantly above 8m/s. Check conditions and reschedule if necessary.
Single Battery Mission Planning Complex venue mapping rarely completes on one battery. Plan missions in segments that account for 25-30 minute realistic flight times, including transit to and from mapping zones.
Neglecting Ground Control Points Even with excellent GPS, mapping accuracy improves dramatically with ground control points. Place 5-7 visible markers around your venue before flying for sub-centimeter positioning accuracy.
Overlooking Lighting Consistency Starting a mapping mission at noon and finishing at 3 PM creates shadow inconsistencies that complicate stitching. Complete individual mapping segments within 45-minute windows to maintain lighting consistency.
Frequently Asked Questions
What overlap percentage should I use for Air 3S venue mapping?
For complex venue terrain, use 75% frontal overlap and 70% side overlap as your baseline. Increase to 80/75 when mapping structures with significant vertical elements like towers or multi-story buildings. The Air 3S battery life supports these higher overlap settings for venues up to approximately 15 acres per flight.
Can the Air 3S map venues with overhead obstructions like covered walkways?
Yes, but it requires mission segmentation. Map open areas at standard altitude, then create separate low-altitude missions for covered sections using manual flight mode. The omnidirectional obstacle avoidance helps navigate these constrained spaces, but maintain heightened situational awareness and consider using a visual observer for covered area mapping.
How does the Air 3S telephoto lens improve venue mapping compared to wide-angle only drones?
The 70mm telephoto lens allows you to capture detailed imagery of specific structures from safer distances. For venue mapping, this means you can document building facades, signage, and architectural details without flying dangerously close to structures. It also enables inspection-quality imagery of rooftop equipment and elevated features that wide-angle lenses would capture with insufficient detail.
Mastering venue mapping with the Air 3S comes down to understanding how its advanced features—obstacle avoidance, tracking modes, and dual-camera system—work together in complex environments. The techniques outlined here have produced consistently excellent results across venue types ranging from intimate garden spaces to sprawling corporate campuses.
Ready for your own Air 3S? Contact our team for expert consultation.