Complete Guide: Air 3S Mountain Site Inspections
Complete Guide: Air 3S Mountain Site Inspections
META: Learn how the Air 3S transforms mountain construction site inspections with obstacle avoidance, D-Log capture, and precision tracking for safer, faster workflows.
TL;DR
- Flying between 80–120 meters AGL is the optimal altitude range for mountain construction site inspections, balancing terrain clearance with image detail
- The Air 3S obstacle avoidance system and ActiveTrack capabilities make it uniquely suited for navigating unpredictable mountain terrain
- D-Log color profile preserves critical shadow and highlight detail across harsh alpine lighting conditions
- Structured flight planning with QuickShots and Hyperlapse modes can reduce repeat site visits by up to 60%
The Mountain Inspection Problem No One Talks About
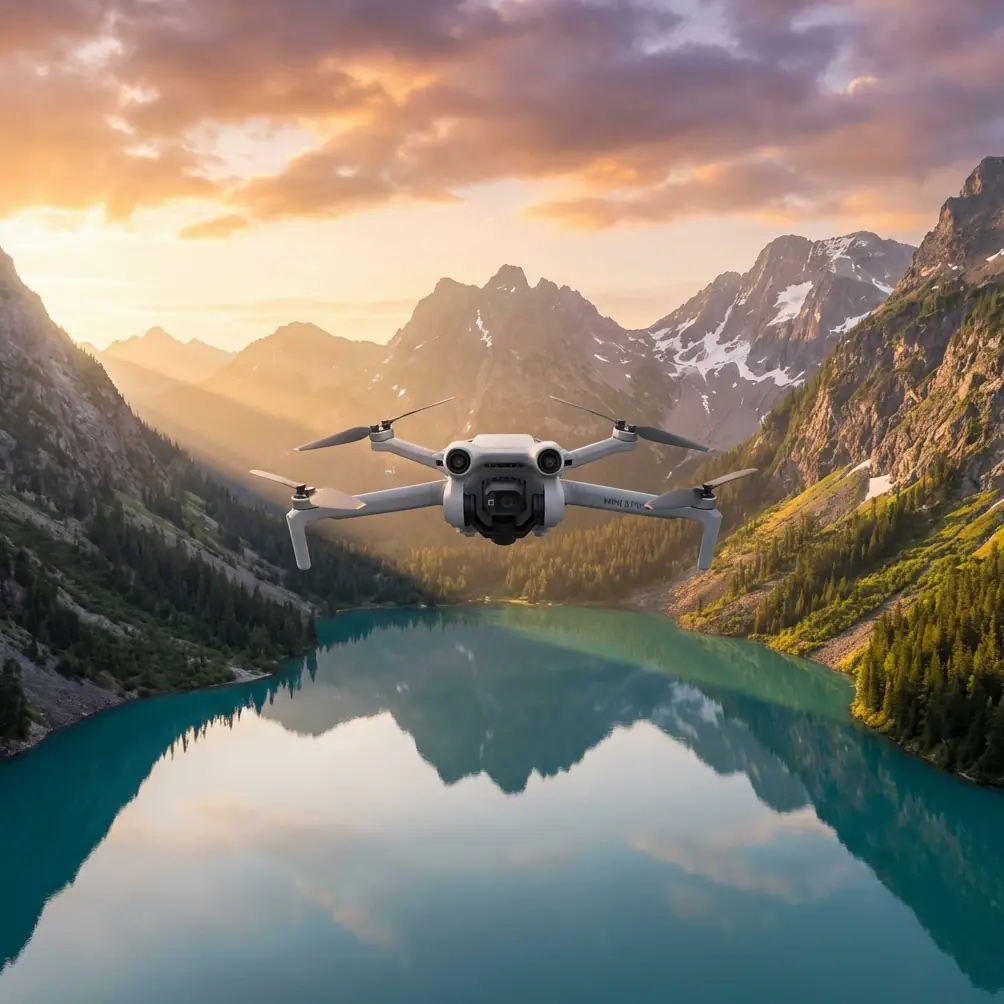
Construction site inspections in mountainous terrain are dangerous, expensive, and unreliable. Traditional methods—scaffolding walkarounds, helicopter flyovers, manual climbing with cameras—put people at risk and deliver inconsistent documentation. The Air 3S solves this with a compact, sensor-rich platform designed for exactly these conditions. This guide breaks down the workflows, settings, and strategies I've developed over 200+ mountain inspection flights to help you capture actionable site data every single time.
My name is Jessica Brown. I'm a professional photographer who transitioned into aerial inspection work three years ago. Mountain construction projects—think remote hydroelectric facilities, ski resort expansions, ridgeline communication towers—became my specialty because most drone operators avoid them. The wind, the terrain, the altitude shifts: they scare people off. But with the right aircraft and the right approach, these inspections become not just manageable but genuinely efficient.
The Air 3S changed my workflow fundamentally, and I want to share exactly how.
Why Mountain Construction Sites Demand More From Your Drone
Terrain Complexity Creates Unique Hazards
Mountain construction sites aren't flat grids. You're dealing with:
- Steep grade changes of 30–60 degrees across a single site
- Exposed rock faces, temporary scaffolding, and crane arms at irregular heights
- Unpredictable wind shear caused by terrain funneling effects
- Rapidly shifting light conditions as clouds move across ridgelines
- Limited GPS accuracy in deep valleys or near cliff walls
A drone that performs flawlessly on a suburban rooftop inspection will fail here. You need advanced obstacle avoidance, robust signal integrity, and a camera system that handles extreme dynamic range.
The Documentation Standard Is Rising
Project managers and structural engineers no longer accept a handful of handheld photos. They want:
- Georeferenced aerial imagery covering the full site perimeter
- Time-lapse documentation showing progress across weeks or months
- Detailed close-ups of rebar placement, concrete pours, and anchor points
- Video walkthroughs that simulate a physical site visit
The Air 3S delivers all of this in a single flight session when configured correctly.
How the Air 3S Solves Mountain Inspection Challenges
Obstacle Avoidance That Actually Works in 3D Terrain
The Air 3S features omnidirectional obstacle sensing that operates across all flight axes. On mountain sites, this isn't a luxury—it's survival. I've had the system detect a guide wire that I completely missed on my visual scan. It detected a temporary crane boom swinging into my flight path during a low-altitude pass around a foundation wall.
The key is understanding how to configure the avoidance system for inspection work:
- Set the braking distance to maximum when flying near cliff edges or structures
- Use Bypass mode rather than Brake mode for smooth tracking shots around irregular structures
- Keep obstacle avoidance active even in manual mode—mountain wind gusts can push you into objects faster than you can react
Expert Insight: At altitudes above 3,000 meters, air density drops enough to reduce propeller efficiency by roughly 10–15%. The Air 3S compensates well, but your effective flight time drops. Plan for 25–28 minutes of usable flight instead of the rated maximum when operating at high-elevation mountain sites.
ActiveTrack for Structural Follow-Alongs
One of the most valuable inspection techniques I use is the "structural follow-along." Instead of manually orbiting a building or retaining wall, I lock ActiveTrack onto a distinct structural feature—a corner joint, a column cap, a crane mast—and let the Air 3S maintain framing while I control altitude and distance.
This produces consistently smooth footage that engineers can actually use for measurement and assessment. Manual orbits, even with experienced pilots, introduce wobble and framing drift that makes precise evaluation difficult.
ActiveTrack on the Air 3S handles subject tracking with impressive tenacity, even when the subject is a static, low-contrast concrete structure against a gray mountainside. Previous generations of tracking struggled with non-human, non-vehicle subjects. This one locks on and holds.
D-Log: The Non-Negotiable Color Profile for Inspections
If you're shooting mountain construction inspections in any standard color profile, you're losing data. Period.
Mountain sites produce some of the harshest lighting scenarios in photography:
- Deep shadows under scaffolding and inside foundation trenches
- Blown-out highlights on exposed concrete and metal roofing in direct alpine sun
- Mixed color temperatures from snow reflection, raw earth, and artificial lighting
D-Log on the Air 3S captures approximately 13+ stops of dynamic range, preserving detail in both shadows and highlights that would be crushed or clipped in a standard profile. For inspection work, this means:
- Cracks and surface defects in shadowed areas remain visible
- Reflective surfaces like standing water or fresh concrete don't blow out
- Post-processing flexibility allows you to pull details that may reveal structural concerns
Pro Tip: Pair D-Log with a manual white balance of 5600K for mountain daylight conditions. Auto white balance shifts between frames and makes side-by-side comparison of inspection photos across different dates unreliable. Consistency matters more than perfection when engineers are comparing imagery over time.
Optimal Flight Altitude: The Critical Variable
Here's the insight that took me dozens of flights to dial in: 80–120 meters AGL (Above Ground Level) is the sweet spot for mountain construction site inspections with the Air 3S.
Below 80 meters, you're too close to terrain features and structures, spending more battery on obstacle avoidance maneuvering than on actual data capture. Wind turbulence near cliff faces and buildings intensifies below this threshold.
Above 120 meters, you begin losing the resolution needed for meaningful structural assessment. The Air 3S camera is excellent, but pixel density on a hairline crack in a retaining wall drops below usable thresholds past 120 meters unless you're shooting for overview mapping only.
The workflow I recommend:
- First pass at 100–120 meters: Capture full-site overview, Hyperlapse progress documentation, and perimeter mapping
- Second pass at 80–100 meters: Targeted structural inspection of specific zones flagged by the project engineer
- Third pass at 50–80 meters (if needed): Close-range detail capture of problem areas, using QuickShots orbit mode for consistent documentation angles
This three-tier approach ensures you gather comprehensive data without wasting battery on redundant altitude ranges.
Technical Comparison: Air 3S for Mountain Inspections
| Feature | Air 3S Capability | Mountain Inspection Relevance |
|---|---|---|
| Obstacle Avoidance | Omnidirectional sensing | Critical for cliff edges, scaffolding, cables |
| ActiveTrack | Advanced subject tracking | Enables smooth structural follow-alongs |
| D-Log | 13+ stops dynamic range | Preserves shadow/highlight detail in harsh alpine light |
| QuickShots | Automated orbital patterns | Consistent documentation angles across repeat visits |
| Hyperlapse | Time-lapse with movement | Powerful progress tracking over weeks/months |
| Wind Resistance | Up to Level 5 winds | Handles moderate mountain gusts with stability |
| Max Flight Time | Extended rated time | Plan for 25–28 min effective at high elevation |
| Video Resolution | Up to 4K and beyond | Sufficient pixel density for crack/defect identification |
| Weight Class | Compact and portable | Packable for mountain access via ATV, helicopter, or hiking |
| Transmission Range | Extended digital transmission | Maintains signal in valleys and around terrain obstacles |
QuickShots and Hyperlapse: Automated Documentation Power
QuickShots for Repeatable Inspection Angles
When you need to photograph the same retaining wall, foundation, or structural joint every two weeks, consistency is everything. QuickShots orbit and dronie modes let you program a flight pattern that you can replicate on every visit.
I save my QuickShots parameters for each site in a dedicated notebook:
- Subject coordinates and altitude
- Orbit radius and speed setting
- Camera angle and focal length
- Time of day (to approximate similar lighting)
This produces image sets that engineers can overlay for direct comparison, identifying settlement, cracking, or construction deviations with precision.
Hyperlapse for Stakeholder Communication
Project stakeholders—investors, regulatory bodies, municipal authorities—rarely visit mountain sites in person. A well-crafted Hyperlapse sequence showing a month of construction progress in 30 seconds communicates more than a 50-page report.
The Air 3S Hyperlapse mode handles the complex stabilization math internally, producing smooth results even in moderate wind. For mountain sites, I recommend:
- Waypoint Hyperlapse over Free mode for consistency
- Capture intervals of 2–3 seconds for construction progress
- Always shoot in D-Log and grade in post for professional deliverables
Common Mistakes to Avoid
Flying without a terrain survey first. Mountain sites have invisible hazards—guy wires, unmarked power lines, cable runs between structures. Walk the site perimeter before you fly. Always.
Ignoring wind altitude gradients. Ground-level wind on a mountain site can be calm while conditions at 100 meters are gusting at 40 km/h. Ascend slowly and monitor the Air 3S stability indicators before committing to a full flight plan.
Using auto exposure for inspection photography. Auto exposure shifts between frames as the drone changes angle relative to the sun. Lock exposure manually for each pass to ensure consistent imagery that engineers can compare frame-to-frame.
Skipping pre-flight obstacle avoidance sensor checks. Dust, mud, and moisture from mountain construction environments can obscure the Air 3S vision sensors. Clean them before every flight. A dirty sensor is functionally the same as no sensor.
Over-relying on a single battery for the entire inspection. Mountain conditions drain batteries faster than spec sheets suggest. Bring at least three fully charged batteries per inspection session and plan your three-tier altitude passes across separate battery cycles.
Neglecting to log flight data. Every inspection flight should be logged with GPS coordinates, altitude, weather conditions, and timestamps. This data is essential for regulatory compliance and gives your deliverables legal standing in construction dispute scenarios.
Frequently Asked Questions
What is the best camera setting for capturing structural defects from the Air 3S during mountain inspections?
Use D-Log color profile with manual exposure, a shutter speed of at least 1/500s to counteract wind-induced vibration, and the lowest native ISO available. Shoot in RAW format for maximum post-processing flexibility. Keep your aperture in the middle range for optimal sharpness across the frame. This combination preserves the fine detail needed to identify hairline cracks, surface delamination, and rebar exposure in concrete structures.
How does the Air 3S obstacle avoidance system perform in tight mountain environments with scaffolding and cables?
The omnidirectional obstacle avoidance system on the Air 3S detects solid structures and larger cables reliably at normal inspection speeds. Thin wires below approximately 5mm diameter can be difficult for any vision-based system to detect, so always conduct a physical site survey before flying near cable runs. Set braking sensitivity to maximum in cluttered environments and use Bypass mode to maintain smooth footage while the system navigates around detected objects. Reduce your flight speed to 3–5 m/s in dense structural zones for maximum reaction margin.
Can the Air 3S Subject tracking handle non-human objects like building corners or crane structures?
Yes. ActiveTrack on the Air 3S has significantly improved its ability to lock onto static, low-contrast subjects compared to earlier tracking systems. I routinely track building corners, column joints, and crane masts for structural follow-along shots. The key is selecting a subject with at least some visual contrast against its background—a concrete corner against a dirt hillside works well, while a gray pipe against a gray wall may cause tracking drift. If tracking struggles, place a high-visibility marker on the structure as an anchor point.
Ready for your own Air 3S? Contact our team for expert consultation.