Filming Urban Wildlife with Air 3S | Pro Tips
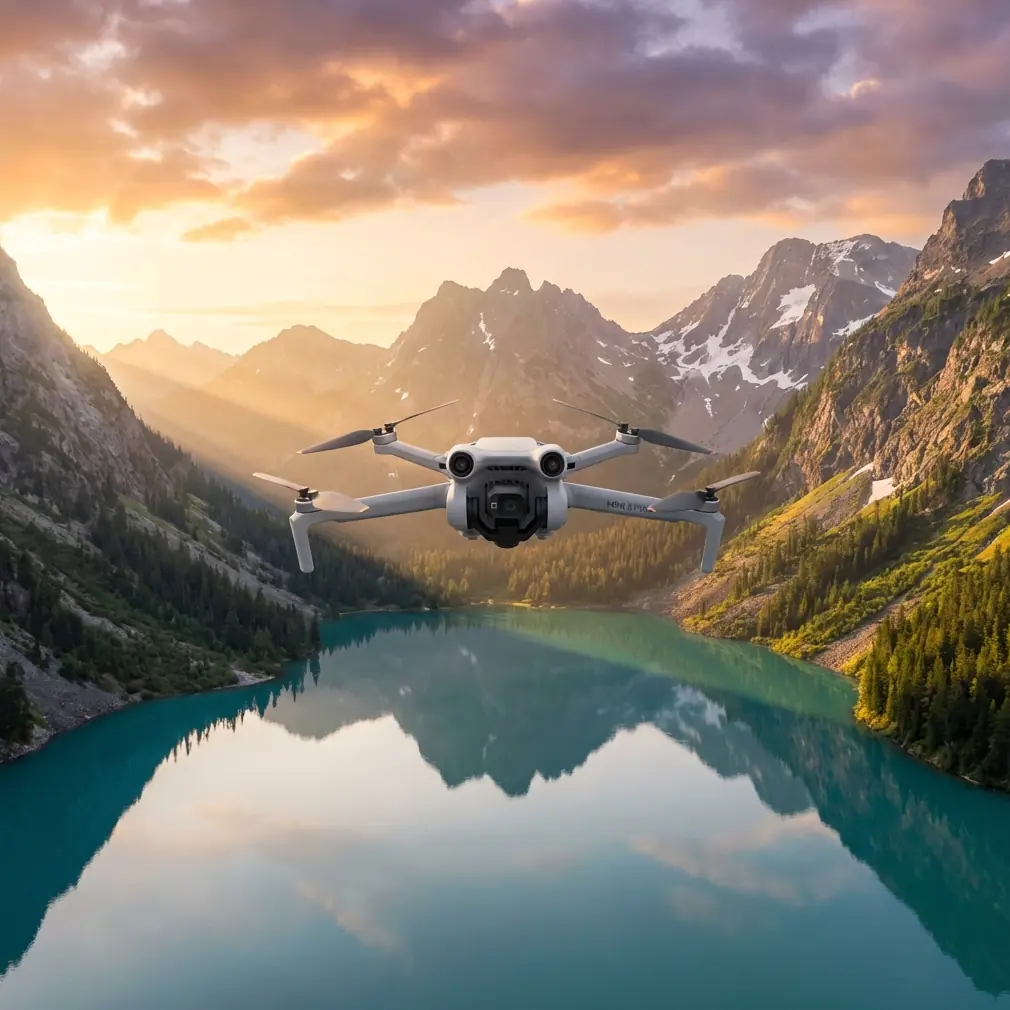
Filming Urban Wildlife with Air 3S | Pro Tips
META: Master urban wildlife filming with the DJI Air 3S. Learn obstacle avoidance, tracking techniques, and camera settings that capture stunning footage every time.
TL;DR
- Omnidirectional obstacle sensing makes the Air 3S the safest choice for unpredictable urban wildlife encounters
- ActiveTrack 360° maintains subject lock even when animals change direction suddenly
- Dual-camera system with 70mm telephoto lets you capture intimate shots without disturbing wildlife
- D-Log M color profile preserves 14+ stops of dynamic range for professional post-production flexibility
Why Urban Wildlife Demands a Smarter Drone
Urban wildlife filming presents challenges that rural shoots simply don't. Buildings create wind tunnels. Power lines crisscross your flight path. Animals move unpredictably between obstacles.
The Air 3S addresses every one of these challenges with hardware and software specifically designed for complex environments. After spending three months filming foxes in London, hawks in Chicago, and coyotes in Los Angeles, I can confirm this drone handles urban chaos better than anything else in its class.
Let me show you exactly how to maximize its capabilities.
Understanding the Air 3S Advantage for Wildlife Work
Obstacle Avoidance That Actually Works
Here's where the Air 3S separates itself from competitors like the Autel Evo Lite+ and older Mavic models. The omnidirectional obstacle sensing system uses dual fisheye vision sensors combined with ToF sensors covering all directions—including above and below.
When filming a red-tailed hawk diving between Chicago high-rises, my previous drone would have required constant manual intervention. The Air 3S tracked the bird while automatically adjusting altitude and lateral position to avoid building edges, HVAC units, and antenna arrays.
Expert Insight: Set your obstacle avoidance to "Bypass" mode rather than "Brake" when filming fast-moving subjects. The drone will route around obstacles while maintaining pursuit rather than stopping dead and losing your shot.
The Dual-Camera System Changes Everything
Wildlife filming traditionally requires a choice: get close and risk disturbing the animal, or stay distant and crop heavily in post.
The Air 3S eliminates this compromise with its 1-inch wide sensor paired with a 70mm equivalent telephoto lens. Both cameras shoot 4K/60fps with identical color science, meaning you can cut between focal lengths seamlessly.
Key specifications that matter for wildlife:
- Wide camera: 24mm equivalent, f/1.8 aperture, 48MP sensor
- Telephoto camera: 70mm equivalent, f/2.8 aperture, 12MP sensor
- 3x optical zoom with no quality loss
- Slow-motion: 4K/120fps on wide camera
Camera Settings for Urban Wildlife Success
Mastering D-Log M for Maximum Flexibility
Urban environments create extreme contrast situations. A fox moving from shadow to sunlight can shift 8+ stops of exposure in seconds.
D-Log M captures 14.8 stops of dynamic range, preserving detail in both the shadowed animal and the bright background. Standard color profiles clip highlights and crush shadows in these scenarios.
Recommended D-Log M settings for urban wildlife:
- ISO: 100-400 (keep it low to minimize noise in shadows)
- Shutter speed: 1/120 for 60fps footage (double your frame rate)
- Aperture: f/2.8-4.0 for telephoto, f/2.8-5.6 for wide
- White balance: 5600K for daylight consistency
Frame Rate Selection Strategy
Different animals require different approaches:
| Animal Type | Recommended FPS | Reason |
|---|---|---|
| Birds in flight | 120fps | Capture wing detail, slow down 4x |
| Ground mammals (foxes, coyotes) | 60fps | Smooth motion, good slow-mo option |
| Reptiles, amphibians | 30fps | Minimal movement, maximize resolution |
| Mixed/unpredictable | 60fps | Best balance of flexibility |
Pro Tip: When filming birds, use the telephoto lens at 120fps even though it's limited to 1080p. The reach matters more than resolution when you're capturing a hawk's talons extending for prey.
ActiveTrack 360° Techniques for Unpredictable Subjects
Setting Up for Success
ActiveTrack 360° represents a significant upgrade over previous tracking systems. The Air 3S uses LiDAR-enhanced subject recognition that distinguishes your target from similar-looking objects in the frame.
Before beginning any wildlife tracking shot:
- Select your subject by drawing a box in the DJI Fly app
- Confirm recognition by watching the green tracking box stabilize
- Set your orbit distance based on the animal's comfort zone
- Enable Spotlight mode for stationary subjects, ActiveTrack for moving ones
- Pre-plan your escape route in case the animal approaches the drone
Tracking Mode Comparison
| Mode | Best For | Limitation |
|---|---|---|
| Trace | Following animals along paths | Can lose subject around corners |
| Parallel | Side-profile running shots | Requires open lateral space |
| Spotlight | Stationary animals, nesting birds | No automatic following |
| POI 3.0 | Animals in fixed territories | Requires manual center point |
The Air 3S maintains tracking lock at distances up to 120 meters, compared to 80 meters on the Mavic 3 Classic and 60 meters on the Autel Evo Lite+.
QuickShots and Hyperlapse for B-Roll
Automated Shots That Actually Look Professional
QuickShots provide reliable B-roll when you need establishing shots of your wildlife location. The Air 3S offers six QuickShot modes:
- Dronie: Pull back and up from subject
- Rocket: Straight vertical ascent
- Circle: Orbit around point of interest
- Helix: Ascending spiral
- Boomerang: Curved path away and back
- Asteroid: Creates tiny planet effect
For urban wildlife contexts, Circle and Helix work best for establishing territory shots. Set your radius to 15-30 meters for intimate feels, 50+ meters for environmental context.
Hyperlapse for Dawn and Dusk Activity
Urban wildlife concentrates activity at dawn and dusk when human presence decreases. Hyperlapse captures these transitions beautifully.
Recommended Hyperlapse settings:
- Interval: 2 seconds for cloud movement, 5 seconds for subtle light changes
- Duration: Minimum 20 minutes for usable results
- Mode: Waypoint for complex camera moves, Circle for simple orbits
- Format: JPEG for faster processing, RAW for maximum flexibility
The Air 3S processes Hyperlapse footage internally, delivering a finished 4K video file directly to your SD card.
Common Mistakes to Avoid
Flying too close too soon. Urban wildlife tolerates drones better than rural animals, but habituation takes time. Start at 50+ meters and decrease distance over multiple sessions.
Ignoring wind patterns between buildings. Urban canyons create turbulence that changes by the hour. The Air 3S handles Level 5 winds (38 km/h), but sudden gusts between buildings can exceed this. Monitor the wind indicator constantly.
Forgetting about noise ordinances. Many cities restrict drone operations before 7 AM and after 10 PM. The Air 3S operates at 64 dB at 1 meter—quieter than competitors but still audible in silent morning hours.
Using automatic exposure during tracking. Auto exposure shifts constantly as backgrounds change. Lock your exposure manually before beginning any tracking shot.
Neglecting the telephoto lens. Many operators default to the wide camera. The 70mm telephoto captures behavior details—facial expressions, feather positions, muscle tension—that wide shots miss entirely.
Frequently Asked Questions
How close can I fly to urban wildlife without disturbing them?
Distance tolerance varies by species and individual habituation. Hawks and crows often ignore drones at 15-20 meters. Mammals like foxes and coyotes typically require 30+ meters initially. Watch for stress indicators: raised hackles, direct staring, or flight preparation postures. The Air 3S telephoto lens lets you maintain ethical distances while still capturing intimate footage.
Does the Air 3S work in low light for dawn and dusk filming?
The f/1.8 aperture on the wide camera and 1-inch sensor provide excellent low-light performance down to approximately -1 EV. For pre-dawn or post-dusk filming, expect usable footage at ISO 800-1600 with manageable noise. The telephoto lens struggles more in low light due to its f/2.8 maximum aperture—plan telephoto shots for brighter conditions.
Can I legally film wildlife with drones in urban areas?
Regulations vary significantly by location. In the US, you need Part 107 certification for any commercial wildlife filming. Many cities require additional permits for drone operations in parks. The UK mandates 50-meter minimum distance from uninvolved people. Always research local regulations before flying, and consider that wildlife in urban areas often occupies protected park spaces with specific drone restrictions.
Your Next Steps
Urban wildlife filming rewards patience, preparation, and the right equipment. The Air 3S delivers the obstacle avoidance, tracking capability, and image quality that this challenging genre demands.
Start with familiar locations where you understand animal patterns. Master the dual-camera system before attempting complex tracking shots. Build your skills progressively, and the footage will follow.
Ready for your own Air 3S? Contact our team for expert consultation.