Expert Delivering Coastal Shots with Air 3S
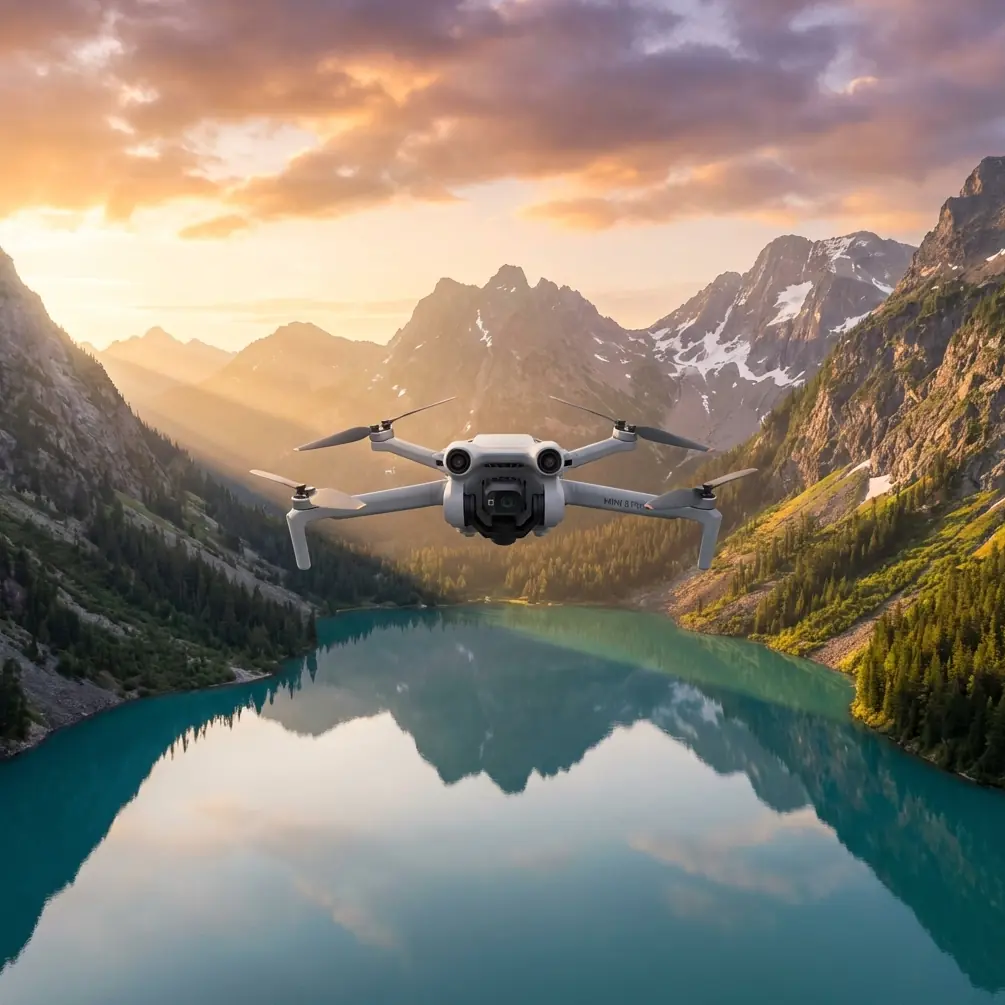
Expert Delivering Coastal Shots with Air 3S
META: Learn how the DJI Air 3S delivers stunning coastal photography with obstacle avoidance, ActiveTrack, and pro-grade D-Log color science for breathtaking results.
TL;DR
- The Air 3S handles unpredictable coastal weather with advanced obstacle avoidance and wind resistance that keeps your shots stable when conditions shift suddenly
- D-Log color profile and dual-camera system capture the full dynamic range of bright skies against dark ocean water
- ActiveTrack and QuickShots modes automate complex cinematic movements along rugged shorelines without risking your aircraft
- This step-by-step guide covers my exact workflow for planning, flying, and editing coastal drone footage that stands out
Why Coastal Photography Demands a Capable Drone
Salt spray, sudden wind gusts, rapidly changing light, and towering cliff faces—coastlines are some of the most punishing environments for drone photography. I've been shooting aerial landscapes professionally for over eight years, and I've lost count of how many flights I've scrapped because a lesser drone couldn't handle the conditions.
The Air 3S changed that equation for me. Its combination of omnidirectional obstacle avoidance, robust wind resistance rated up to Level 5 winds, and a dual-camera system with a 1/1.3-inch CMOS sensor means I can focus on composition instead of constantly worrying about safety. This guide walks you through my complete coastal workflow—from pre-flight planning to final export.
Step 1: Plan Your Coastal Flight Before You Leave Home
Check Weather and Tidal Conditions
Coastal weather shifts fast. I use three apps before every shoot:
- UAV Forecast for wind speed, gusts, and KP index at altitude
- Windy.com for hour-by-hour coastal wind pattern visualization
- Tide tables specific to your shooting location (low tide reveals textures and rock formations)
Aim for wind speeds below 24 mph at ground level. The Air 3S can handle gusts beyond that, but your footage quality degrades as the gimbal works harder to stabilize.
Scout Compositions Using Satellite Imagery
Before I drive to any coastal location, I study Google Earth for:
- Leading lines created by rock formations and wave patterns
- Cove geometry that creates natural framing
- Cliff edges where updrafts might be strongest
- Potential launch and landing zones on stable, flat ground
Pro Tip: Mark 3-5 GPS waypoints on your DJI Fly app before arriving. Coastal shoots often have narrow weather windows, and pre-planned waypoints let you execute shots immediately instead of exploring aimlessly while burning battery.
Step 2: Configure Your Air 3S for Coastal Conditions
Camera Settings for High Dynamic Range Scenes
Coastlines present one of photography's toughest exposure challenges: bright white foam, reflective water, dark volcanic rock, and a sky that can be 10+ stops brighter than shadow areas. Here's my baseline configuration:
- Color Profile: D-Log — this captures the maximum dynamic range the sensor can deliver, giving you full control in post-production
- Resolution: 4K/60fps for video, 48MP for stills
- ISO: Keep at 100 whenever possible to minimize noise in shadow recovery
- Shutter Speed: Follow the 180-degree rule (double your frame rate) for natural motion blur in video
- White Balance: Manual at 5600K for consistent color across clips
Obstacle Avoidance Configuration
This is non-negotiable for coastal flying. The Air 3S features omnidirectional obstacle sensing using binocular vision sensors on all sides. I set mine to:
- Bypass mode rather than Brake mode — this allows the drone to navigate around obstacles while maintaining flight paths
- Warning distance: 5 meters minimum near cliff faces
- APAS 5.0 enabled for all automated flight modes
| Setting | My Coastal Config | Default Config | Why It Matters |
|---|---|---|---|
| Obstacle Avoidance | Bypass / APAS 5.0 | Brake | Maintains smooth flight paths near cliffs |
| Max Altitude | 120m (legal limit) | 120m | Captures full coastal panoramas |
| Max Distance | Adjusted per location | Varies | Accounts for signal interference near water |
| Return-to-Home Alt. | 60m | 40m | Clears cliff edges during emergency RTH |
| Low Battery RTH | 25% | 20% | Extra buffer for headwinds on return |
| Color Profile | D-Log | Normal | Preserves highlights in bright sky/water |
| Video Format | 4K/60fps | 1080/30 | Enables slow-motion and maximum detail |
Step 3: Execute Your Coastal Flight Plan
Launch Protocol
Find a flat surface at least 3 meters from the cliff edge. Sand is acceptable if you brush the launch pad clean—salt-laden grit is the enemy of motors and gimbal bearings. I carry a collapsible launch pad in my kit specifically for beach surfaces.
Power up, confirm GPS lock with a minimum of 12 satellites, verify your home point, and calibrate the compass if the app requests it. Coastal areas with volcanic rock can sometimes cause magnetic interference.
The Shots That Define Coastal Storytelling
Here's the sequence I follow for a complete coastal shoot:
1. Establishing Overhead (Bird's Eye)
- Launch to 80-100 meters altitude
- Point camera straight down at -90 degrees
- Capture the interplay of wave patterns, foam trails, and rock geometry
- Use Hyperlapse in Waypoint mode to create a slow drift across the coastline
2. Dramatic Reveal (Low-to-High Sweep)
- Start at 10 meters, camera angled slightly downward
- Rise smoothly to 60 meters while tilting the gimbal up
- The Air 3S gimbal delivers incredibly smooth transitions even in gusty conditions
3. Cliff-Hugging Tracking Shot
- This is where subject tracking shines
- Set ActiveTrack on a distinct rock formation or cliff feature
- Fly parallel to the coast at 15-20 mph
- The obstacle avoidance system keeps the drone safe while ActiveTrack holds your subject perfectly framed
4. QuickShots for Automated Cinematic Moves
- Dronie: Pull away from a cliff-edge vantage point to reveal the full coastline
- Rocket: Straight vertical ascent over a breaking wave zone
- Circle: Orbit around a sea stack or lighthouse
- Each QuickShots mode uses the obstacle avoidance sensors to adjust its path automatically
Expert Insight: The dual-camera system on the Air 3S is a coastal photographer's secret weapon. I switch to the 70mm equivalent telephoto lens to compress distant wave sets against cliff faces—a perspective that's impossible with single-camera drones. This focal length also isolates seabird colonies on rock faces without disturbing them from close range.
Step 4: When Weather Changes Mid-Flight
During a shoot on the Oregon coast last October, I was capturing a Hyperlapse sequence over Cannon Beach when a fog bank rolled in from the northwest with almost no warning. Visibility dropped from miles to roughly 200 meters within about three minutes.
Here's what happened: The Air 3S obstacle avoidance sensors immediately detected the reduced visibility environment and I received alerts on my controller screen. I cancelled the Hyperlapse and switched to manual control. The drone's APAS 5.0 system remained active, providing a safety net as I navigated back toward my launch point.
The wind had also picked up to what felt like sustained 20+ mph gusts as the weather front arrived. The Air 3S held position remarkably well—the footage from those final moments before I brought it home actually became some of the most dramatic clips from the entire trip. The moody fog rolling across dark basalt sea stacks created an atmosphere I couldn't have planned.
Key takeaways from unexpected weather:
- Always maintain visual line of sight—the Air 3S sensors are excellent but they don't replace your judgment
- Keep your return-to-home battery threshold at 25% so headwinds don't strand your drone
- Dramatic weather often produces the most compelling footage, so stay calm and shoot during your return
- The Air 3S wind resistance handled the sudden gusts without any visible instability in the footage
Step 5: Post-Production for D-Log Coastal Footage
D-Log footage looks flat and desaturated straight out of the drone. That's by design—it's preserving all the data you need for a professional grade.
- Apply a base LUT designed for D-Log as your starting point
- Recover highlights in the sky and water reflections (you'll be amazed how much detail D-Log preserves)
- Boost shadows in cliff faces and rock textures
- Add selective color grading: push teals into the water, warm oranges into the golden-hour light
- Export at 4K with a bitrate of at least 100 Mbps for platform uploads
Common Mistakes to Avoid
- Flying directly over breaking waves: Salt spray reaches higher than you think—maintain at least 15 meters of vertical clearance over active surf zones
- Ignoring compass calibration warnings: Coastal volcanic rock creates magnetic anomalies that cause erratic flight behavior if you skip calibration
- Shooting only in Normal color profile: You're leaving 2-3 stops of dynamic range on the table compared to D-Log, and coastal scenes desperately need that latitude
- Launching from loose sand without a pad: Fine sand particles destroy gimbal motors over time and void your warranty
- Forgetting ND filters: Bright coastal conditions require ND16 or ND32 filters to maintain proper shutter speed for cinematic motion blur
- Draining batteries to critical levels: Cold ocean air and headwinds consume battery faster than inland flights—always plan for 30% less flight time than rated capacity
Frequently Asked Questions
Can the Air 3S handle salt air and coastal moisture?
The Air 3S is not officially waterproof or salt-resistant. However, its sealed motor design and enclosed sensor housing provide reasonable protection during normal coastal flying. I wipe down the entire aircraft with a lightly damp microfiber cloth after every coastal session and pay special attention to the gimbal area, motor vents, and sensor lenses. Avoid flying through visible sea spray or rain.
What makes ActiveTrack useful for coastal shooting specifically?
Coastlines feature complex, three-dimensional terrain—cliff faces, sea stacks, arches, and irregular shorelines. ActiveTrack combined with obstacle avoidance lets you lock onto a visual subject and fly complex paths that would require expert manual stick control otherwise. The Air 3S processes the tracking data alongside its omnidirectional sensors, so it adjusts its flight path in real time to avoid obstacles while keeping your subject centered. This is particularly valuable when flying parallel to cliff walls where your attention is split between terrain clearance and composition.
How does Hyperlapse mode work for coastal timelapses?
The Air 3S Hyperlapse mode captures individual frames at set intervals while moving the drone along a predetermined path, then stitches them into a stabilized timelapse video. For coastal work, I use Waypoint Hyperlapse with 4-6 waypoints along a stretch of shoreline, setting the interval to 2 seconds and total duration to 15-20 minutes. The result is a sweeping timelapse that shows tidal movement, cloud dynamics, and changing light in a single, smooth clip. The internal stabilization is strong enough that the final output requires virtually no post-stabilization work.
The Air 3S has genuinely transformed how I approach coastal photography. Its combination of safety systems, image quality, and intelligent flight modes means I spend less time managing the drone and more time crafting shots that tell the story of these extraordinary landscapes.
Ready for your own Air 3S? Contact our team for expert consultation.